Your table saw is made up of a bunch of different parts. While it might seem like a fairly simple piece of equipment, each of those parts does make a difference in how your table saw operates.
It’s a good idea to be familiar with the various parts of the table saw. You should familiarize yourself so that you know what each part means and be able to safely use the saw as well.
In this guide, we will walk you through the various parts of a table saw. We will explain the primary parts for you and point out where you might be able to find them on your saw as well.
Table of Contents
Types of Table Saw
First of all, let’s take a moment to go over the different types of table saws out there. There are several different types and several different brands and modes. As we go over the various parts of a saw, you should be aware that these parts can vary from saw to saw.
The different types of table saws include the following.
- Contractor saw
- Portable saw
- Benchtop saw
- Cabinet saw
- Hybrid saw
The contractor saw and the portable saw are fairly similar. The biggest difference is that a contractor saw typically has more power and is a bit more heavy-duty. It’s designed to be used at job sites so it is portable but packs a lot of power in the saw.
The benchtop saw is the traditional table saw. These saws are designed to be placed on a worktable or a work bench for you to use. They are portable but they don’t come with any kind of stand attached to the saw.
Then, you have a cabinet saw. These are heavy and powerful. They are not usually portable. These have heavy built-in cabinets beneath the saw that house a powerful motor. They also usually have larger tables to cut with.
Finally, a hybrid saw takes the power and effectiveness of a cabinet saw and brings it to you in a portable manner. It brings you the best of power and heavy-duty technology and mixes it with a bit of portability and less weight than a traditional cabinet saw.
Table Saw Parts
Now, let’s move on to the table saw parts. You can take a look at this diagram that Homenish compiled for a resource. It clearly points out the various parts of your table saw and we are going to break down most of these parts with a simple explanation and overview.
Keep in mind that not every saw is made exactly the same way. While this gives you a general overview, it’s possible that your saw won’t have some parts or that they will be located in a different place on the saw.

Legs or Base
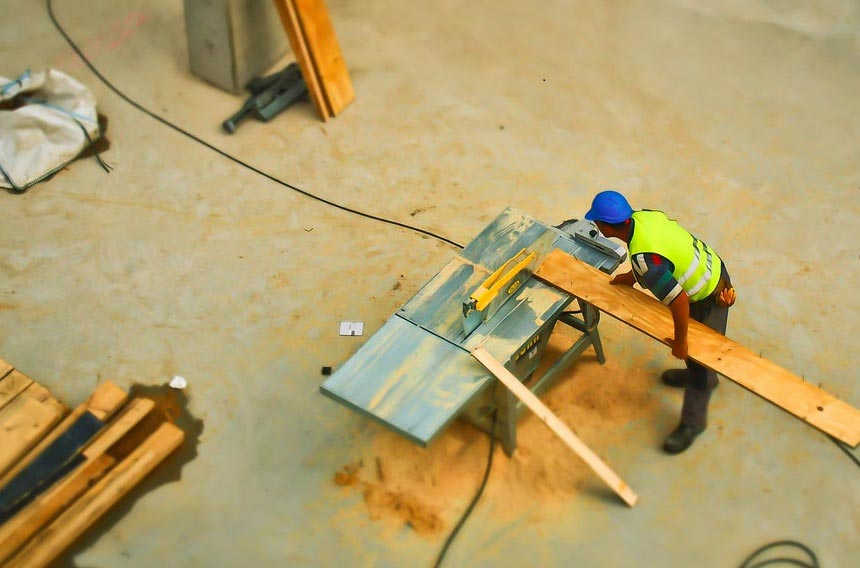
Let’s start at the bottom. This is a part you probably already really understand. The legs or the base of the saw is really the foundation. Every table saw has a table surface and that table is supported by a base.
The base holds the motor within it. Depending on the type of saw that you have, you might have legs or a cabinet attached to your base. The base is where you will find most of your settings and adjustable features, as well as your power switch.
Onboard Storage
Not every saw has onboard storage but most saws have a little something. This again will depend on your saw. This is more likely to be found with a portable saw or a cabinet saw but it’s not unheard of with benchtop models.
The onboard storage is usually fairly small and will just hold small tools or necessities for your saw.
Dust Collection Port
Every modern table saw is equipped with some sort of dust collection or dust port. This is a system within the saw that is used to blow or move dust away from the blade. It helps with accuracy but also with safety as you work.
This might include a vacuum system that sucks the dust into a port or a bag. It also might be a simple collection attachment on the saw. Some saws allow you to connect a hose and such the dust into something like a shop vac to keep your work space clean and clear.
Blade Tilt/Angle
Some saws will allow you to tilt or angle the blade. This is usually referred to as a bevel. If your saw can bevel, there will be a level or a sliding mechanism that allows you to make the adjustment to the blade and bevel it according to the angle that you need.
This is usually accommodated by a hand wheel that you crank until your blade is in the desired position that you need.
These same mechanisms might also allow you to raise and lower the blade as needed.
The design of the mechanism that gives these motions will typically be either a wheel as we mentioned or a simple handle that you move. Handles are more common for smaller saw models.
Table
The table saw is named such because it has an attached table for you to work on. The table is what allows you to move the material you are cutting and gives you some balance on a steady work surface.
Tables come in all sorts of different sizes and the size of yours is going to ultimately depend on the size of the saw. Some tables are extendable.
Power Switch
Every saw will have a power switch. This is again something that might vary but most of the time, it’s going to be a simple switch. There may be safety locks or coverings depending on the saw. These are designed to help prevent you from accidentally powering on the saw.
Rails
Not every table saw has rails but they are common. The rail runs across the front or back sides of the table saw. They are most common on the front. This piece is truly a metal rail that is attached to the table.
Rails usually have measurements that can be helpful when aligning your blade, materials, and rip fence before making a cut.
Rip Fence
If the table saw you are using does not have a rip fence, you can most likely add one. Most saws come with them. The rip fence is used to guide your materials as you make a cut. They are called rip fences because they are very useful for ripping lumber quickly and accurately.
The rip fence needs to be properly aligned and straight to make sure your cut is accurate. In most cases, these are locked in with a lever and can be moved from one side to the other based on your needs.
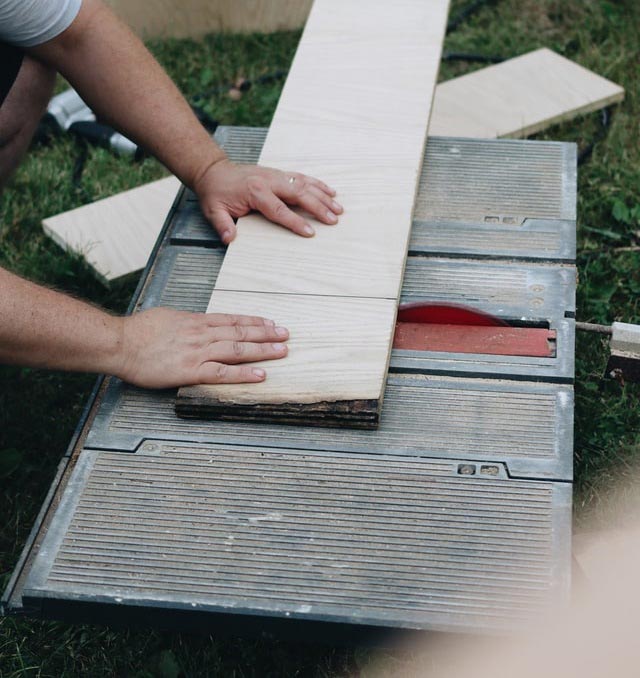
Blade & Blade Guard
The blade lies somewhere near the center of the table. It attaches underneath the table top and only a portion of the round blade protrudes through the notch in the top of the table. You can usually adjust the blade or raise and lower it as needed.
When the saw is powered on, this blade will spin and you will push your materials over the table through the blade for the cut.
The majority of table saws also include a blade guard. This is a guard that covers the top of the blade. It is designed to prevent mishaps. It covers the blade and makes you far less likely to accidentally come into contact with any part of the blade when the saw is powered on.
Riving Knife
Not every saw has a riving knife but they are useful. This safety feature is a small attachment that rests in front of your blade. The riving knife is designed to help prevent pinching as well as kickback.
This little piece will raise and lower with your blade and it really does help in most cases.
Miter Gauge
Not every saw comes with a miter gauge but your table saw will allow you to add on a miter gauge if it doesn’t have one. The miter gauge helps you to make accurate cuts and works for both straight and angled maneuvers.
You can set your angle or position using a miter gauge.
Throat Plate
Finally, the throat plate is another piece that is different on every saw. On some saws, it is removable or adjustable. This is ultimately the entry position of the blade on the saw. It can be adjusted to accommodate tilting or beveling the blade.
Conclusion
There you have it! These are the primary parts that you will find or can add to any table saw on the market. Keep in mind that every table saw make or model could vary in some way. However, this should provide you with a basic overview of the pieces you can find and just what those pieces mean.
It’s a good idea to look at your owner’s manual and become familiar with the parts of the saw you are using before you actually start using it. This is the best way to get to know your saw.